Lesson 4: Using the Castaway CTD
In this lesson, students will learn what the Castaway CTD is and what it does, what it is used for, how to use and why it is important to SmartICE operations.
The CastAway-CTD (Conductivity, Temperature, Depth) is a handheld instrument that provides temperature, salinity and sound speed profiles. This data provides valuable information about the water in the area and from that, we can understand the effects on the ice.
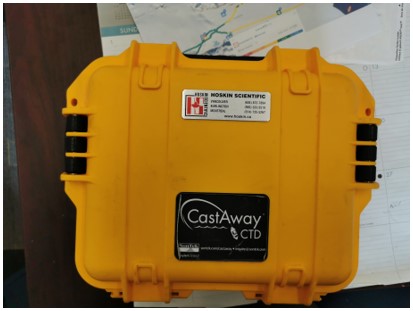
STEP 1: Locate the yellow case that has ‘CastAway CTD’ on it.
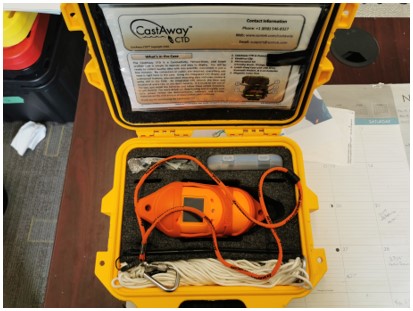
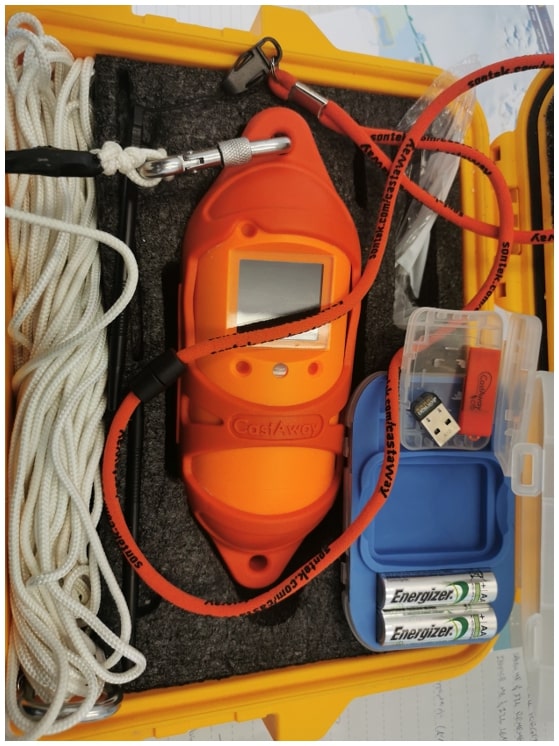
STEP 2: Open the case and remove the contents of the case. The contents will include:
- CastAway CTD Device (orange)
- CTD pen and lanyard
- rope
- small plastic case (inside you will find batteries, an orange USB and black USB)
- CTD instructions
STEP 3: Install the two AA batteries into the CTD by following the steps below:
- Take the orange case off of the CTD
- Take the cap off the CTD by twisting it counterclockwise
- Install the two AA batteries. Ensure that the flat side of the battery is connected to the spring terminal on the inside of the CTD.
- Put the cap back on the CTD. Push in and twist clockwise to ensure it is on tightly.
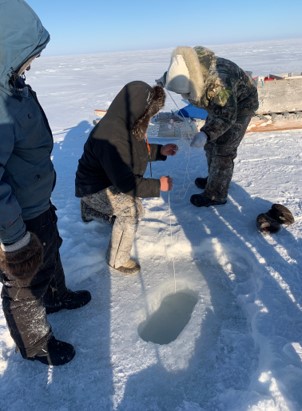
STEP 4: Attach the silver clip around the CTD and tie the rope to something (while on the ice, tie it to a snowmobile to ensure you do not lose the CTD). Double-check to make sure the silver clip is tightly secured.
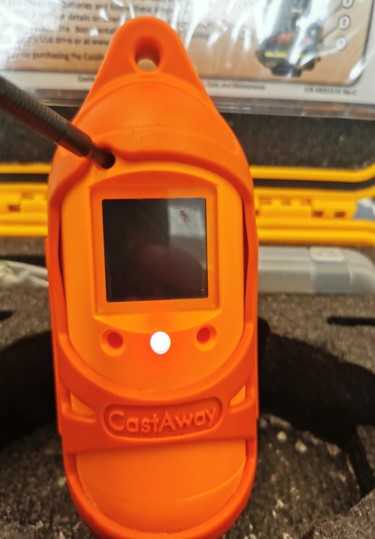
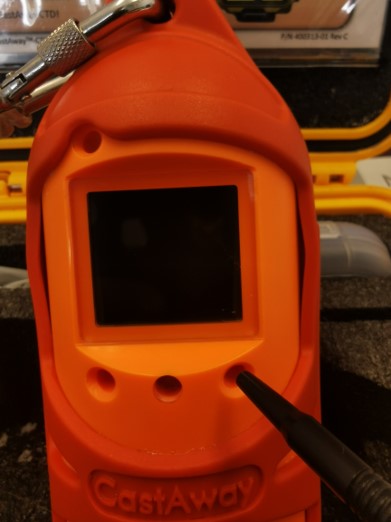
STEP 5: Using the black pen, touch the top left button on the CTD. This will turn the CTD on.
Note: the CTD pen has a magnet and the buttons on the CTD are activated by the magnet in the pen. The buttons do not need to be clicked on, the pen just needs to touch the button.
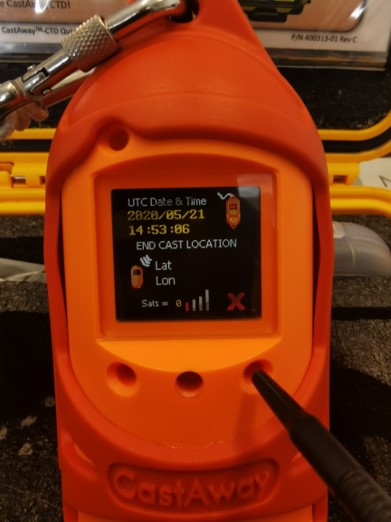
Note: The device needs to acquire a GPS signal for it to work so you may need to go outside or move next to a window.
STEP 6: The white frame selector around each option indicates which you are selecting. Click the left button to move the white frame selector.
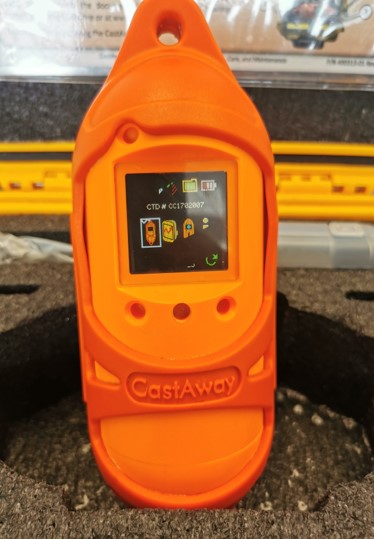
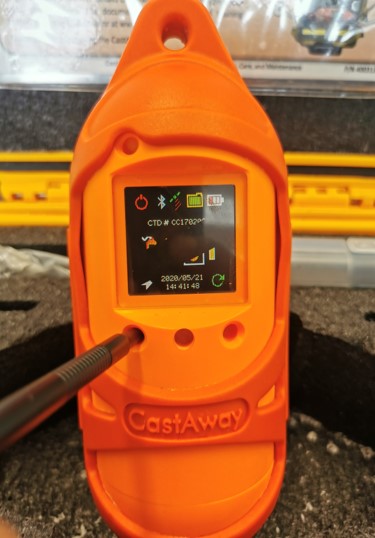
STEP 7: Once the white frame selector is on the leftmost option (orange CTD icon), click the rightmost button to activate the CTD.
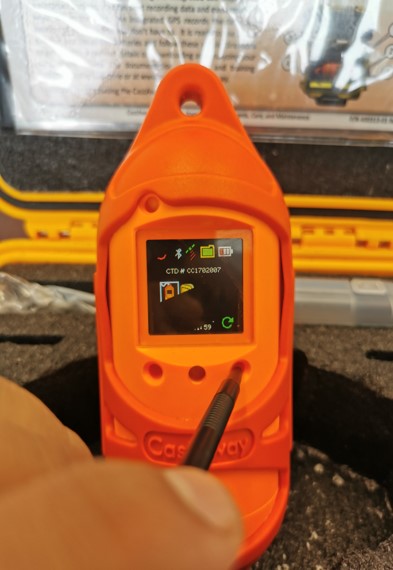

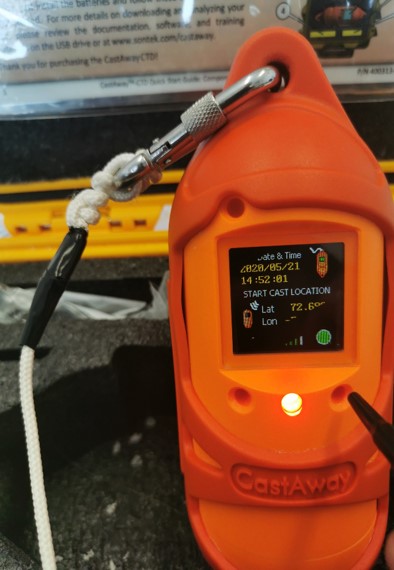
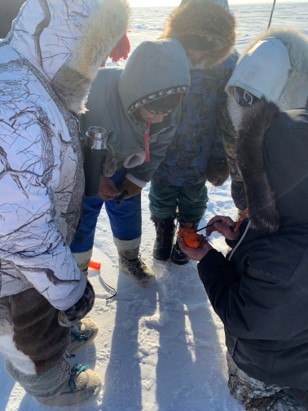
STEP 8: Slowly lower the CTD down into the hole and slowly pull it back up.
STEP 9: Once the cast has been completed, the light on the CTD screen will go from red to green. Press the select button on the right.
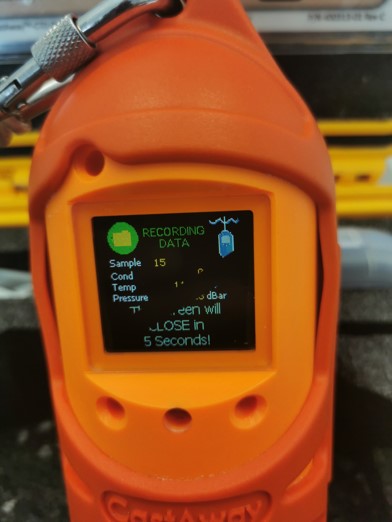
STEP 10: Press the select button again to save the data and once more to exit the screen.
STEP 11: Move the white selector frame to the yellow icon with the red lightning bolt.
STEP 12: Press the select button to enter the application
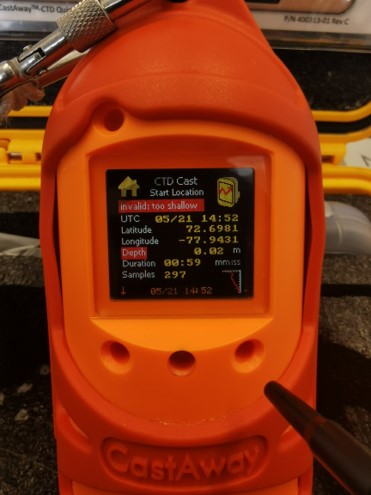
STEP 13: If the screen says ‘invalid: too shallow’, you must repeat the previous process and do another cast.
Now that the demonstration of how to use the CTD has been completed, prepare the safety equipment and go on the ice. Go to several different locations, drill holes using the Kovacs kit, and take turns deploying the CTD.
Note: the CTD is larger than the 2-inch hole that the Kovacs kit drills so you will need an ice-pick or spare to chip the ice out around the holes.
Note: The process of transferring data from the CTD to a computer and the uploading of files to SIKU will be covered in a later lesson in the SIKU section.
Lesson Conclusion
After completing this lesson, the students will understand what the CTD is used for and how to collect data with the device,